Who is this article for?
You use Google Analytics, Google Ads or Google Tag Manager and you want to measure the traffic of your Colib pages in your own Google account? Add your Google tags to Colib: they load on your public page, your booking page and your forms, and Colib sends an event every time a client books an appointment or submits a form.
Before you start: the Google tags are managed in Settings > Analytics (www.colib.io/settings?show=analytics). You need access to the practice settings, and the identifier of each Google product you use (see the table in Step 2).
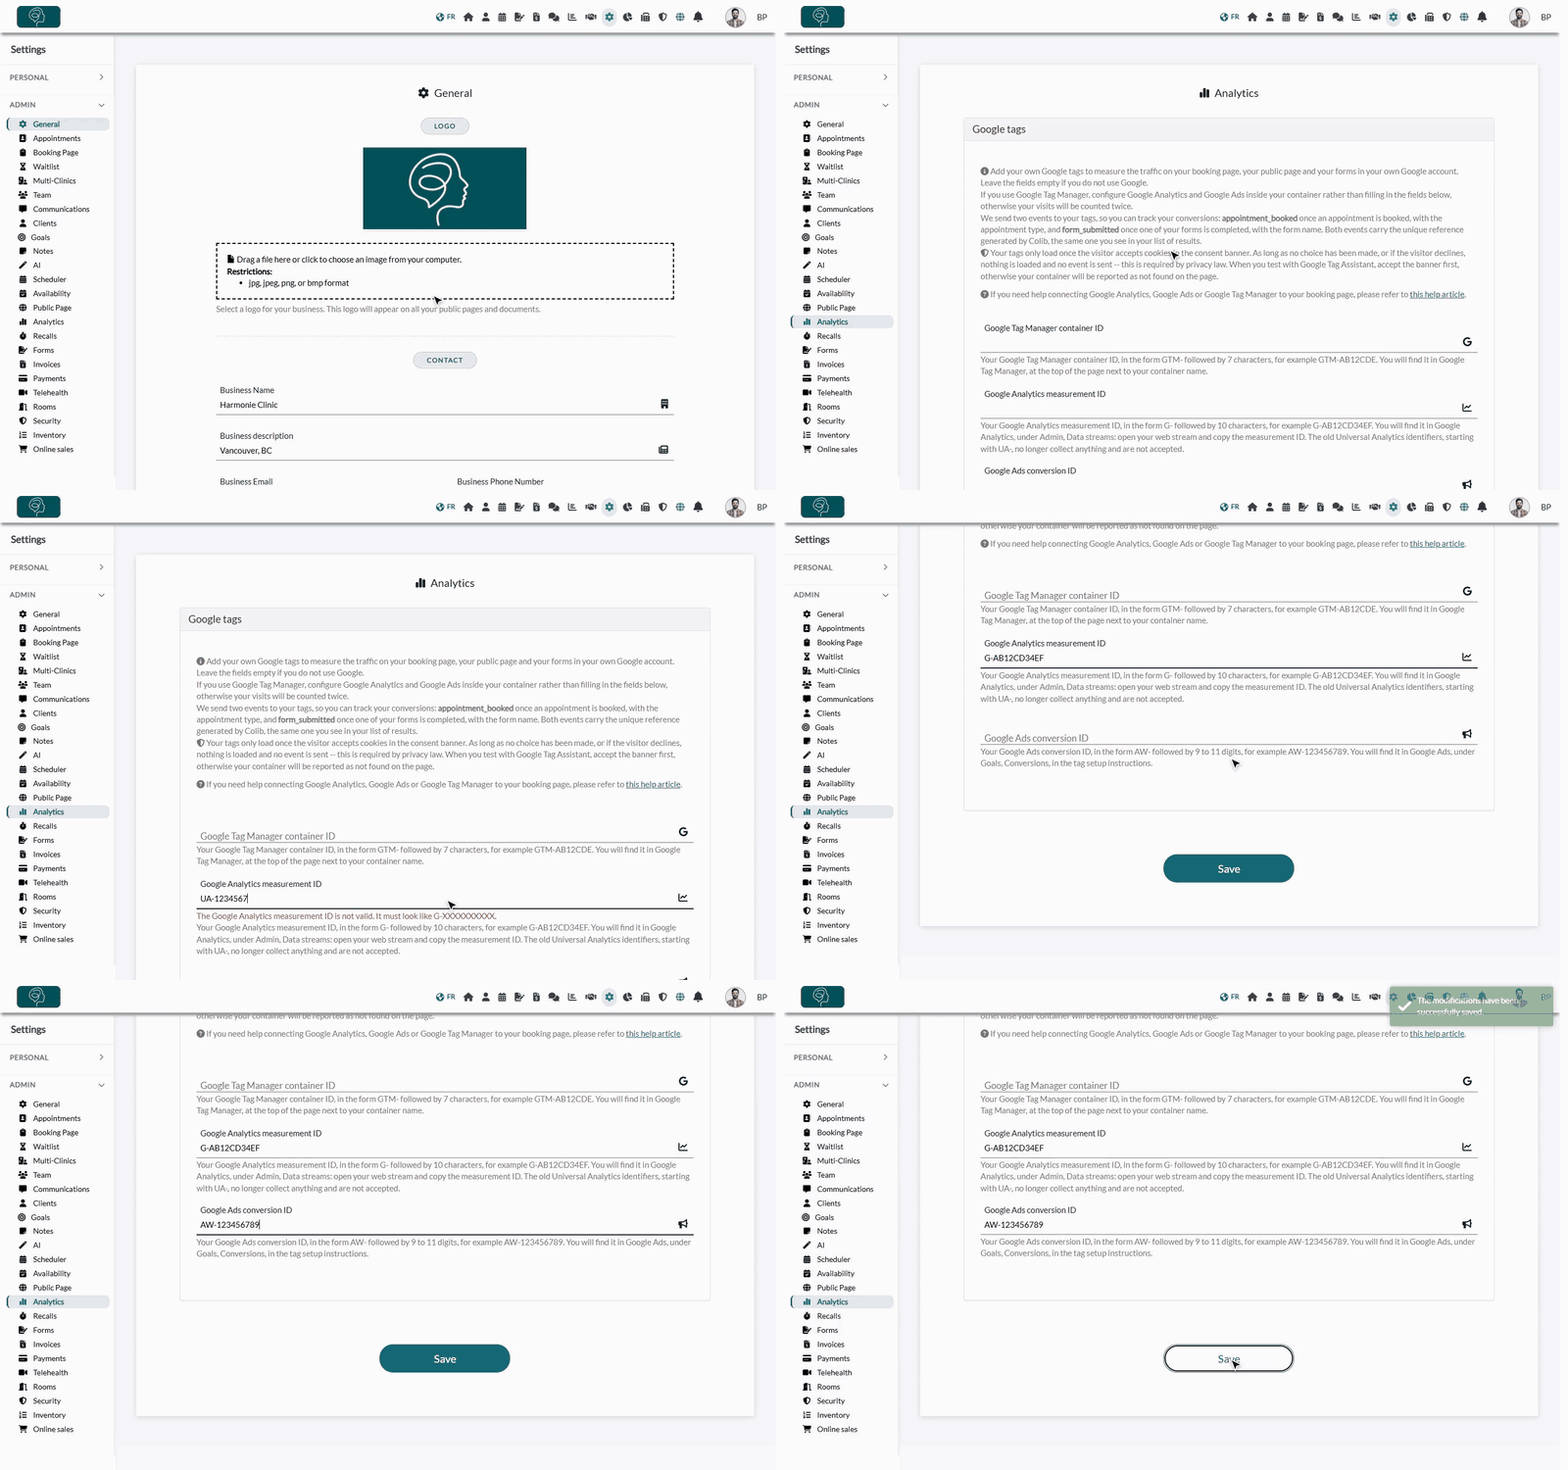
1Open the Analytics settings
- Go to www.colib.io/settings?show=analytics. You can also click the Settings icon (gear) in the top bar, then Analytics in the Admin menu on the left, just under Public Page.
- The Google tags section shows three fields, one per Google product. Fill in only the ones you use and leave the others empty.
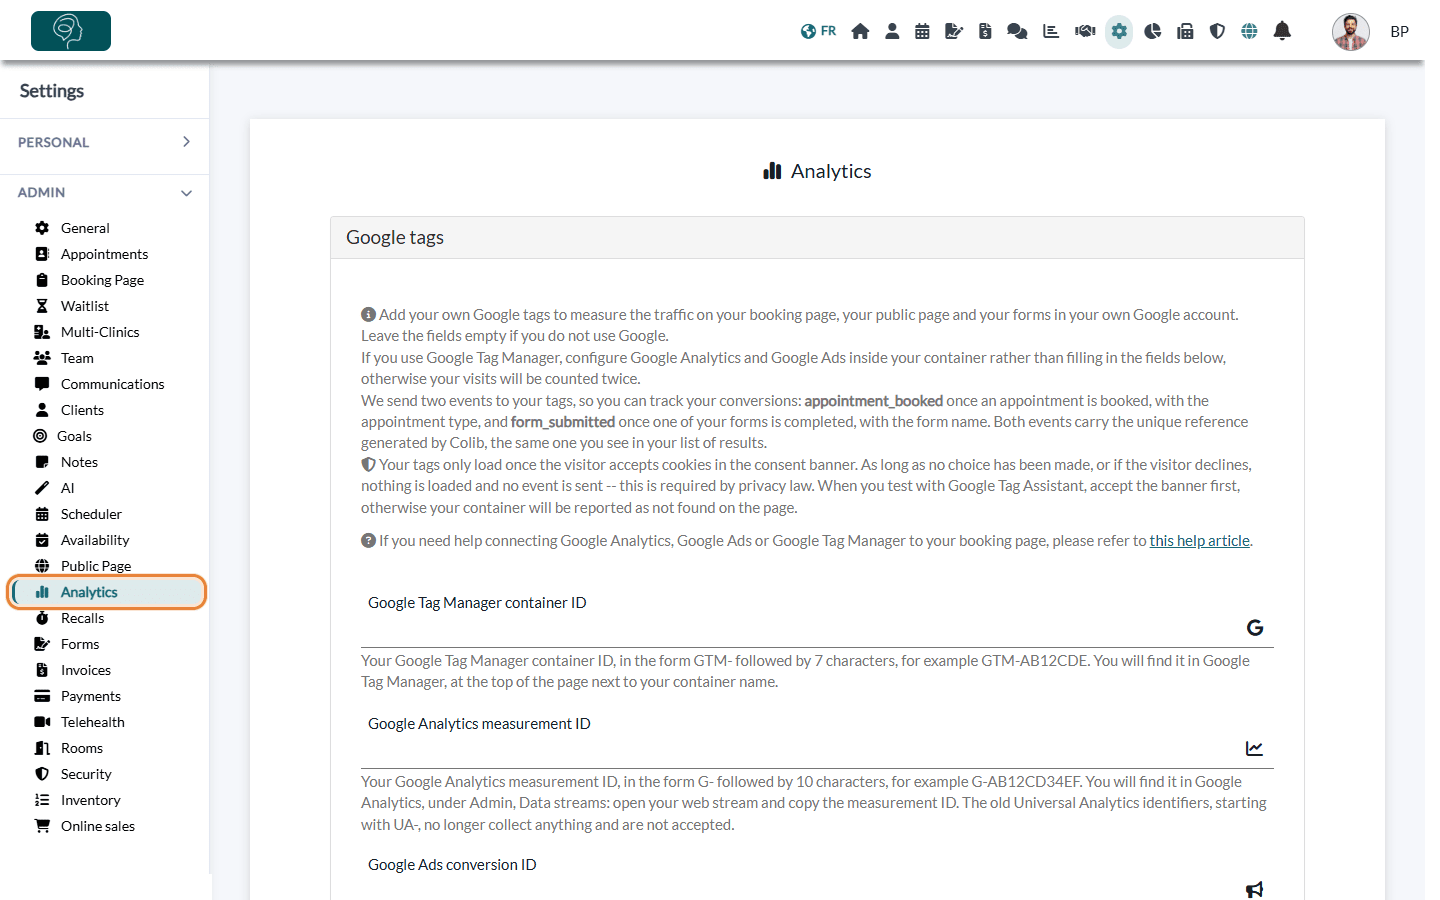
2Paste your identifiers and save
- Paste each identifier in its field (see the table below).
- Colib checks the format of each identifier. If an identifier is rejected, compare it with the examples: a missing or wrong prefix is the usual cause.
- Click Save. The change applies right away: reload your public page and the tag is live.
| Field | Format | Where to find it |
|---|---|---|
| Google Tag Manager container ID | Starts with GTM- | In Google Tag Manager, at the top of the page next to your container name. Use this field if you prefer to manage all your tags yourself. |
| Google Analytics measurement ID | Starts with G- | In Google Analytics, under Admin > Data streams: open your web stream and copy the measurement ID. The old Universal Analytics identifiers (UA-) are not accepted. |
| Google Ads conversion ID | Starts with AW- | In Google Ads, under Goals > Conversions, in the tag setup instructions. Use it to measure the results of your ad campaigns. |
Important: if you use Google Tag Manager, configure Google Analytics and Google Ads inside your container and leave the two other fields empty. Filling in all three would load the same tracking twice and count every visit twice.
Where your tags load
- On your public page, your booking page and the forms your clients fill in from a Colib form link.
- Never in your Colib account, nor in your clients' portal.
- Only with consent: your tags load once the visitor accepts cookies in the consent banner. As long as no choice has been made, or if the visitor declines, nothing is loaded and no event is sent. This is required by privacy law.
What each tag does
- Google Tag Manager — Tag Manager measures nothing by itself: it is a container that runs what you put in it. Colib loads it and gives it the page load events and the events described below (booking and form). Everything else depends on how you set up your container.
- Google Analytics — Analytics records a page view as soon as a visitor opens one of these pages, and automatically collects the details of the visit: page address, page title and referring site; campaign parameters, to know which ad or newsletter brought the visitor; device, browser, language and an approximate location based on the IP address; a visitor identifier stored in a cookie, so that several pages count as a single visit. In practice, you see your funnel: how many people visit your public page, how many go to the booking page, and how many book.
- Google Ads — the Ads tag keeps the identifier of the ad click that brought the visitor, so a booking can be attributed to the right campaign. It also feeds your remarketing audiences if you turned them on in your Google Ads account.
The events Colib sends
| Event | When | Details sent |
|---|---|---|
| appointment_booked | The client reaches the confirmation screen of the booking page. | transaction_id (unique reference of the booking, so an appointment is never counted twice), appointment_type (name of the appointment type), establishment_name (name of your clinic). |
| form_submitted | The client submits one of your forms. | transaction_id (unique reference of the submission, the same one you see in your form results), form_name (name of the form), establishment_name (name of your clinic). |
Trigger on the event, not on a page address. The booking confirmation screen appears without reloading the page, so there is no separate "thank you" page. A conversion set on a page address will never fire: always use the appointment_booked or form_submitted event.
Turn an event into a conversion
- With Google Tag Manager — create a custom event trigger named appointment_booked (or form_submitted), then attach the tag of your choice: a Google Ads conversion, a GA4 event, or another tag (a Meta pixel, for example).
- With Google Analytics — after your first test booking, open Admin > Events, find appointment_booked and mark it as a key event. You can then import it in Google Ads as a conversion.
- With Google Ads only — the conversion ID alone does not record a conversion. Import the event from Google Analytics, or go through Google Tag Manager. Filling in the Google Ads field still lets Google attribute bookings to the right campaign.
Check that it works
- Open your booking page and accept the cookie banner first. Otherwise Google Tag Assistant reports your container as not found on the page.
- In Google Tag Manager, open Preview and load your booking page: your container appears.
- In Google Analytics, open Admin > DebugView, or watch the Realtime report while you browse your page.
- Make a test booking, check that appointment_booked appears in the event list, then cancel the appointment. A real test booking is the only way to see the booking event fire from start to finish.
Good to know
- Modified appointments — when a client modifies an existing appointment, they go through the same confirmation screen, so appointment_booked is sent again. Keep it in mind when you read your conversion numbers.
- Booking widget — if you embedded the booking widget on your own website, it is displayed in a separate window inside your page: Google counts that visit separately from the rest of your site.
- No client data — Colib never sends client information to your tags: no name, email address, phone number or date of birth, and nothing from the content of your forms.
- Your tags, your responsibility — Google collects an approximate location and a visitor cookie on pages where people book health appointments, and the appointment type can be revealing depending on the care you offer. Mention these tags in your privacy policy.
Still have a question?
Write to us at support@colib.io with the name of your clinic and the identifier you pasted, we will check the setup with you.
Was this article helpful?
That’s Great!
Thank you for your feedback
Sorry! We couldn't be helpful
Thank you for your feedback
Feedback sent
We appreciate your effort and will try to fix the article