Who is this article for?
Each appointment has a status: scheduled, confirmed, completed, no-show, cancelled... Keeping it up to date gives you a reliable history for each client and accurate statistics. Some statuses also trigger actions: Completed can create and send the invoice automatically, and No-Show can charge a fee.
This article explains where to change the status of an appointment, what each status means and what happens when you choose it.
Before you start: to change a status, you need the right to create, edit and delete appointments. Users who can only view the scheduler do not see the Status field.
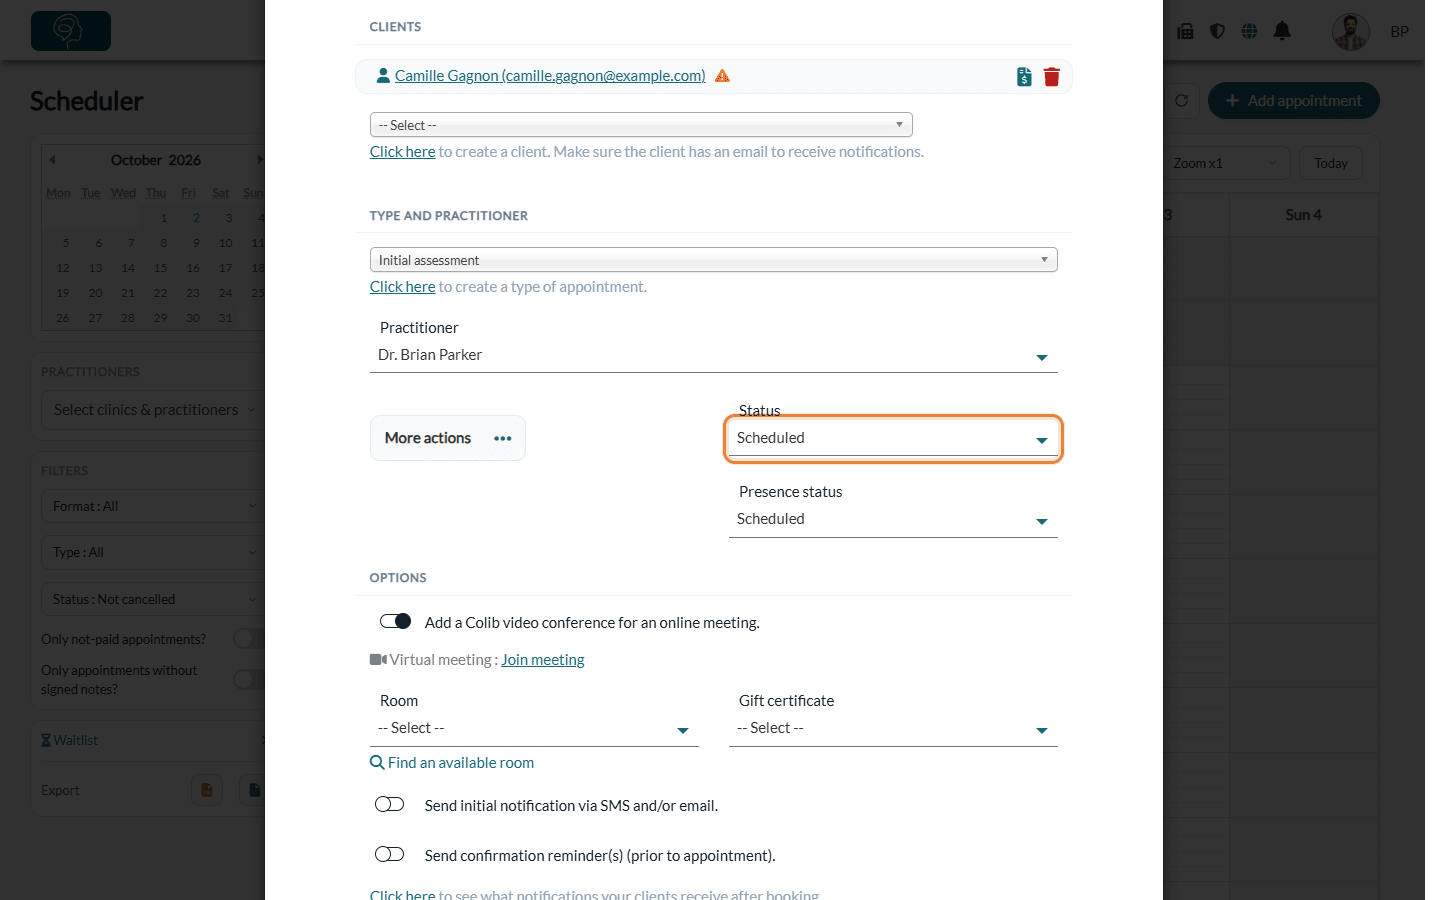
1Open the appointment and find the Status field
- In your scheduler (www.colib.io/scheduler), click the appointment. The Edit appointment window opens.
- Scroll down to the Status list, next to the More actions button.
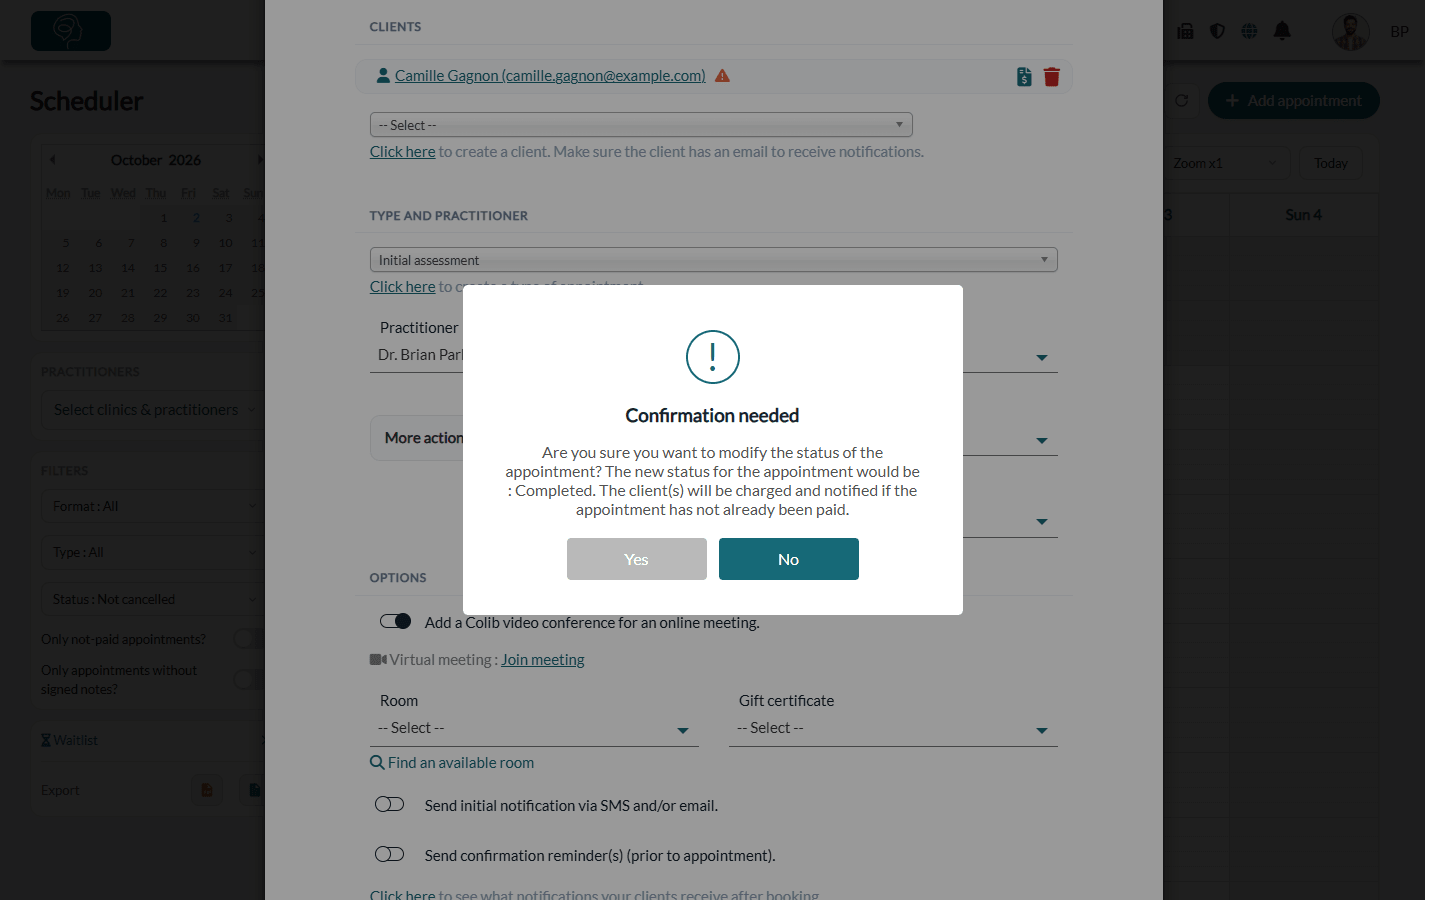
2Choose the new status and confirm
- Choose the new status in the Status list.
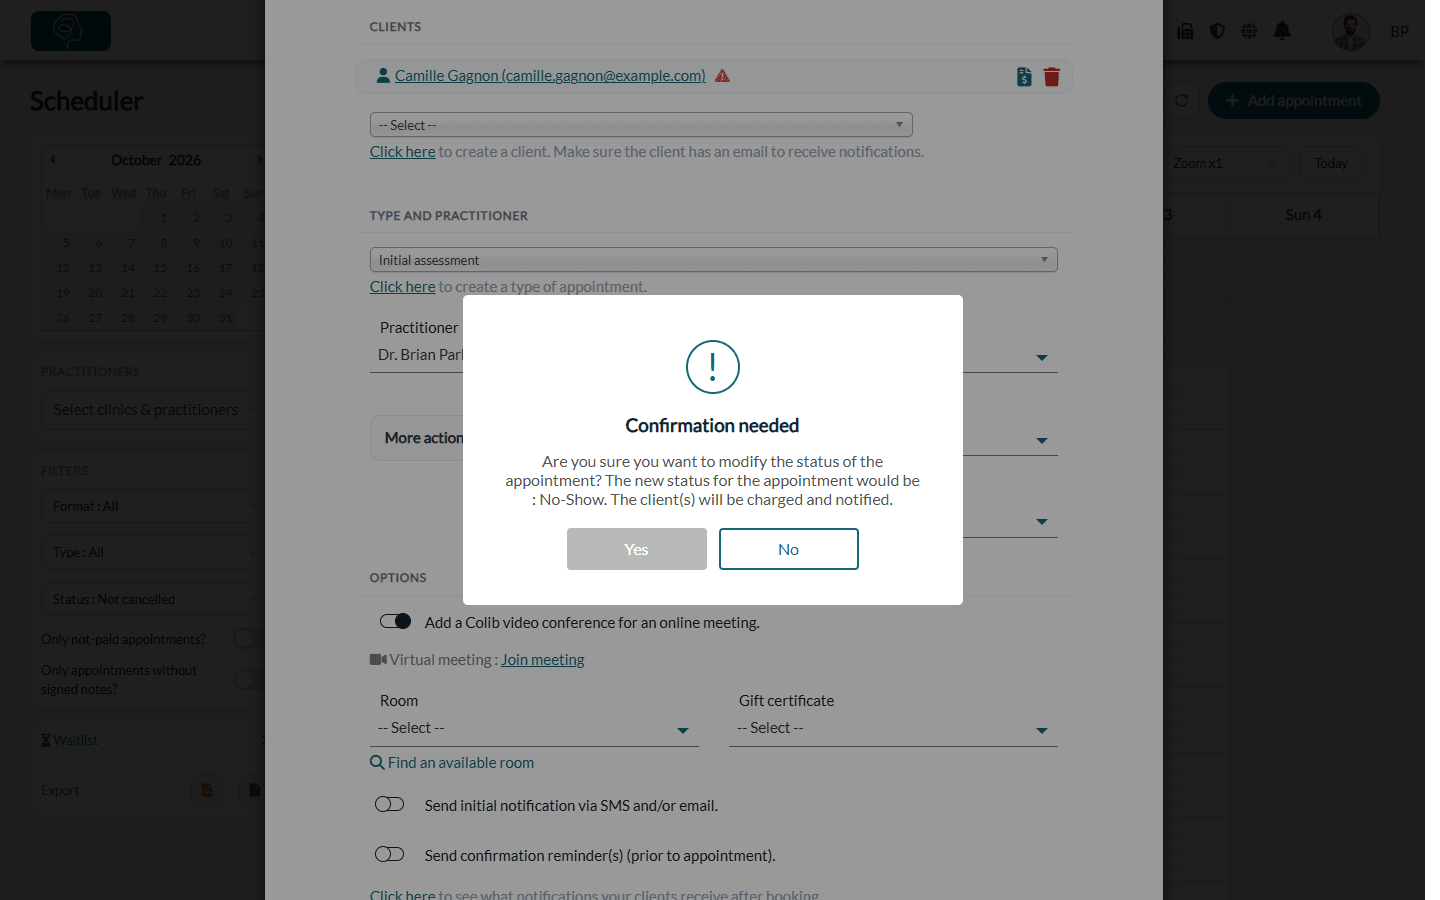
- A confirmation window shows the new status and, when it applies, what Colib is about to do (invoice, charge, notification).
- Click Yes to apply it. The change is saved right away: you do not need to click Save. Click No to keep the previous status.
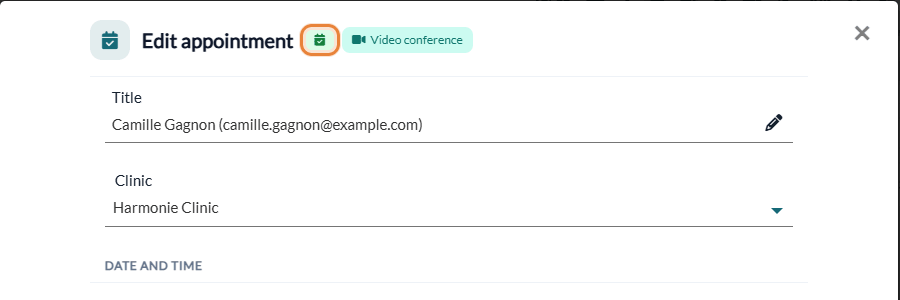
The icon at the top of the window (next to Edit appointment) and the icon of the appointment in your scheduler change with the status.
What each status means and what it triggers
| Status | When to use it | What happens |
|---|---|---|
| Scheduled | Status of a new appointment. | Nothing. |
| Confirmed | The client confirmed they will come. | Set automatically when the client clicks the confirmation link of a reminder. You can also choose it yourself (for example, after a phone call): nothing is sent to the client. |
| Rescheduled | The appointment was moved. | Set automatically when the date of a scheduled or confirmed appointment changes (by you or by the client). |
| Completed | The appointment took place. | If invoicing automation is on, Colib creates the invoice and sends it to the client, or charges the client's payment card (see below). Never set automatically: choose it after the session. |
| No-Show | The client did not come and did not cancel. | If no-show fees are on, the client is charged or receives an invoice. The appointment stays in your scheduler; the follow-up email is not sent. |
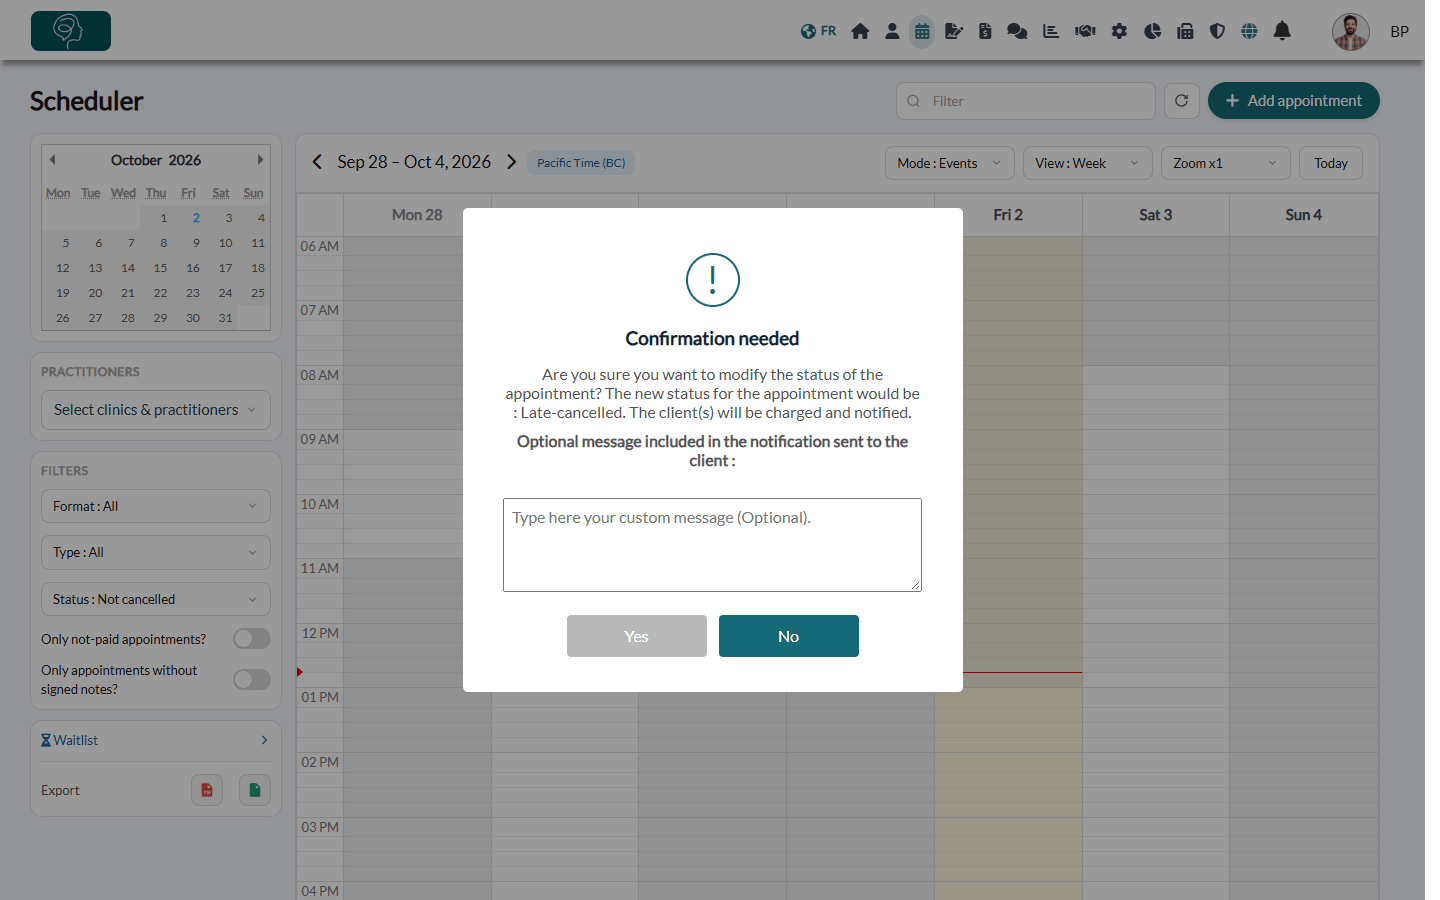
| Cancelled | The appointment will not take place. | The reminders are cancelled and, if the client had received the notification of the appointment, they receive a cancellation notification. You can add a message for the client. The room is freed. |
| Late-cancelled | The client cancelled too late, according to your policy. | Same as Cancelled, plus the late cancellation fee if no-show fees are on. |
For a cancellation, the confirmation window includes a box for an Optional message included in the notification sent to the client.
Automatic invoicing when an appointment is completed
In Settings > Invoices (www.colib.io/settings?show=invoices), section Automation:
- Automatically send an invoice to the client. — when an appointment is marked as Completed, Colib creates the invoice and emails it to the client.
- Automatically charge the client. — when an appointment is marked as Completed, Colib creates the invoice and charges it.
Nothing is created if the appointment is already paid. For a group appointment, each participant is invoiced. The confirmation window tells you which option applies. If an invoice already exists for this appointment, the window also offers a link to change the status without triggering the invoicing automation.
Important: mark an appointment as Completed only once it has taken place. If the appointment is in the future, the confirmation window warns you: You are about to complete a session that has not occurred yet.
To leave some clients out of this automation, see How to skip invoicing automation for specific clients.
Fees for no-shows and late cancellations
Turn on Automatically charge no-shows & late cancellations. in Settings > Invoices, then set the Fee type (Flat fee or Percentage of the appointment price) and the amount for each case. When you mark an appointment as No-Show or Late-cancelled, the client's payment card is charged if one is available; otherwise, an invoice is sent to the client. See How to charge no-shows and late cancellation appointments.
Find the status in your scheduler
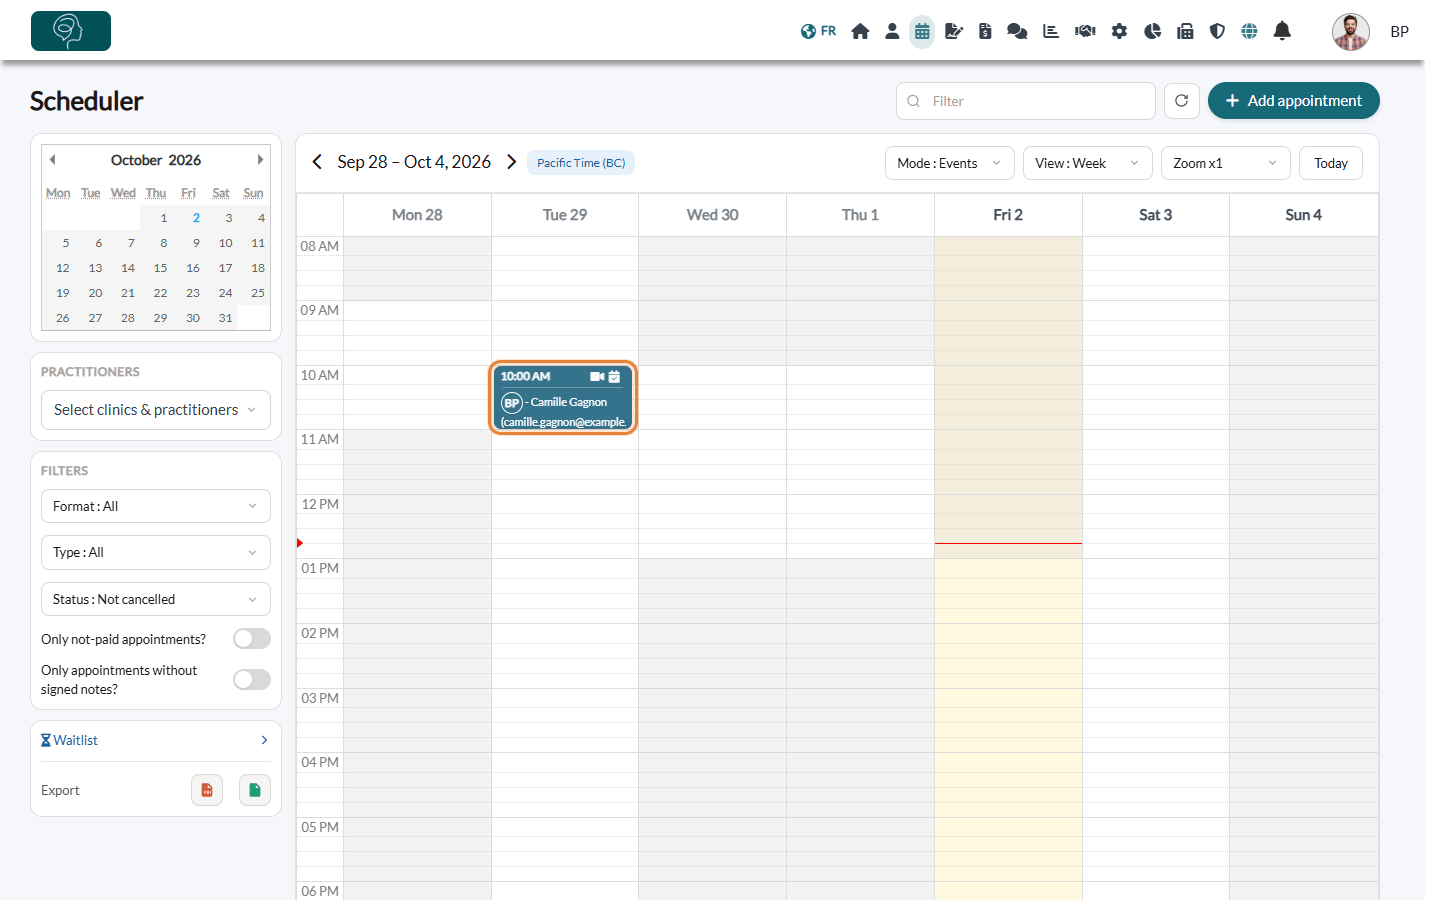
An icon in the corner of the appointment shows its status: a calendar with a check mark for Confirmed, a check mark for Completed, a cross for No-Show. Cancelled appointments are greyed out and striped, and are hidden by default (filter Status : Not cancelled on the left of the scheduler). See What do the icons on appointments represent?
Good to know
- One status per appointment — in a group appointment, the status applies to all participants. Each client row shows whether that client has confirmed.
- Be notified when a client confirms — turn on Receive a notification when a client confirms an appointment in Settings > Scheduler (www.colib.io/settings?show=scheduler).
- Arrival confirmation — if the appointment type asks the client to confirm their arrival, the window also shows a Presence status list. It is separate from the appointment status.
- Cancel or delete? — a cancelled appointment stays in the client's history and in your statistics. Deleting it (More actions > Delete appointment/event) removes it for good. See How to delete an appointment.
- Statistics — the 'No-show' rate and Appointments per status charts of www.colib.io/establishmentanalytics are based on these statuses.
- Every change is recorded — status changes appear in the audit log of the practice.
Still have a question?
Write to us at support@colib.io, we will be happy to help.
Was this article helpful?
That’s Great!
Thank you for your feedback
Sorry! We couldn't be helpful
Thank you for your feedback
Feedback sent
We appreciate your effort and will try to fix the article