Who is this article for?
Yes! By default, the scheduler uses one color per practitioner. You can instead give each appointment type its own color, to see at a glance what kind of appointments fill your day (assessments, follow-ups, video sessions...). This article explains both options, how to change the color of a single appointment, and the other color settings of the scheduler.
Before you start: the color settings are in Settings > Scheduler (www.colib.io/settings?show=scheduler). You need access to the practice settings to change them.
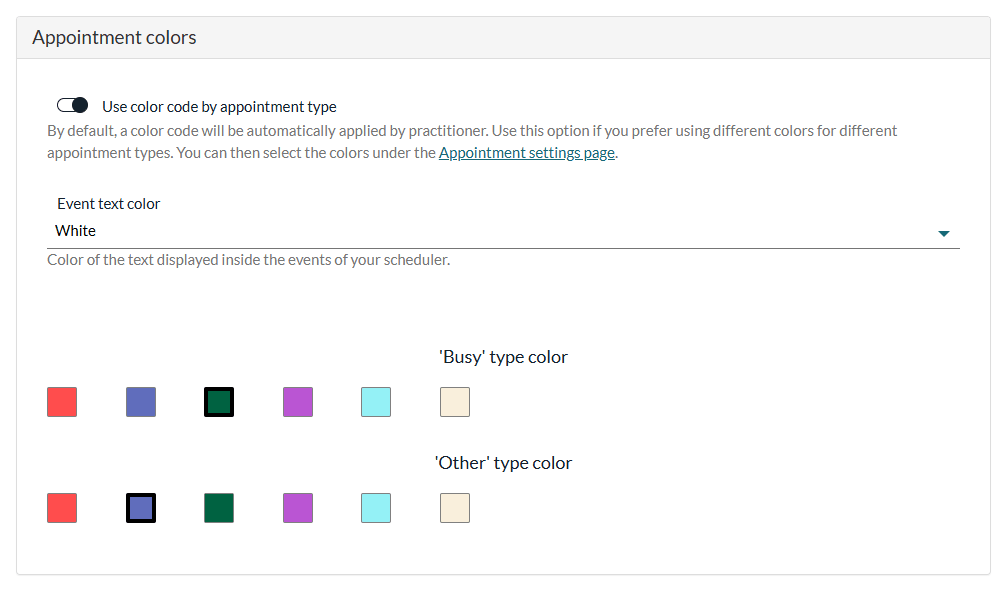
1Turn on the color code by appointment type
- Go to www.colib.io/settings?show=scheduler. You can also click the Settings icon (gear) in the top bar, then Scheduler.
- Open the Appointment colors section.
- Turn on Use color code by appointment type.
- Click Save at the bottom of the page.
2Choose a color for each appointment type
- Go to Settings > Appointments (www.colib.io/settings?show=appointments).
- Click the pencil icon of an appointment type.
- In the General section, scroll down to Color and click the color of your choice.
- Save the appointment type, then do the same for your other types.
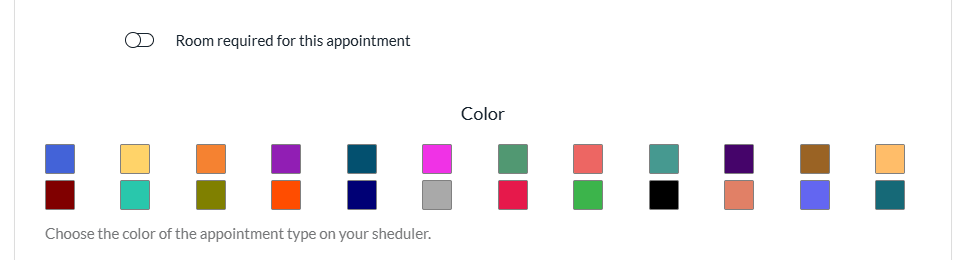
The Color palette only appears in the appointment type window when Use color code by appointment type is turned on.
Color by practitioner (default)
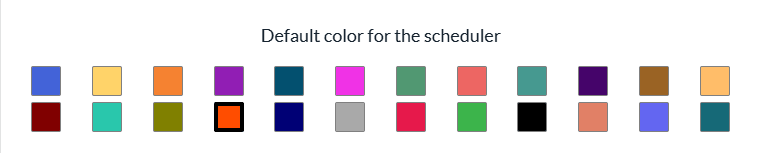
When the color code by appointment type is off, each appointment takes the color of its practitioner. Each team member receives a color when they are added. To change it, go to Settings > Team (www.colib.io/settings?show=team), edit the team member and choose a color under Default color for the scheduler.
Change the color of a single appointment
- Open the appointment in the scheduler (or create it).
- Click More actions > Change color.
- Click a color in the palette, then click Save.
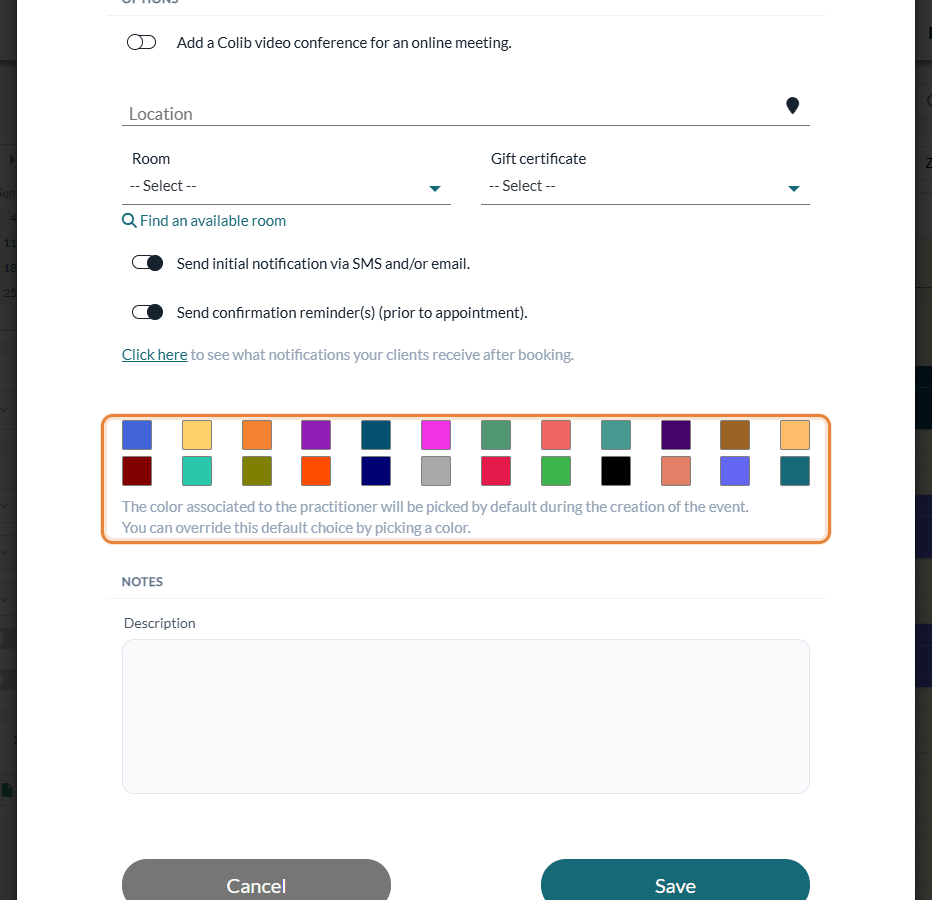
The color you choose replaces the color of the type or of the practitioner for this appointment only. If you later change the practitioner or the type of the appointment, it takes the default color again.
Good to know
- Not retroactive — the color is set when an appointment is saved. Turning the option on or off, or changing the color of a type or of a practitioner, does not recolor the appointments already in the scheduler.
- Text color — in the same Appointment colors section, Event text color chooses white or black text inside the events.
- Blocked time — ** Busy ** and ** Other ** events are shown with stripes, in the colors chosen in 'Busy' type color and 'Other' type color: see How can I block time on my scheduler?
- Tasks — with the color code by appointment type, a task takes the color chosen for it in the Tasks section of Settings > Scheduler: see How to use tasks in your scheduler
- Cancelled and past appointments — cancelled appointments are shown with grey stripes, and past appointments are slightly faded.
- Icons — see What do the icons on appointments represent?
Still have a question?
Write to us at support@colib.io, we will be happy to help.
Was this article helpful?
That’s Great!
Thank you for your feedback
Sorry! We couldn't be helpful
Thank you for your feedback
Feedback sent
We appreciate your effort and will try to fix the article