Who is this article for?
This article is for clients of a practice that uses Colib. When your practice accepts online card payments, you can save a payment card in your client portal. Your practitioner can then use it to pay the invoices of your appointments, without asking you for your card each time.
In short: sign in to the client portal (portal.colib.io), open Payment cards, then click Add card to save a card or Delete to remove one.
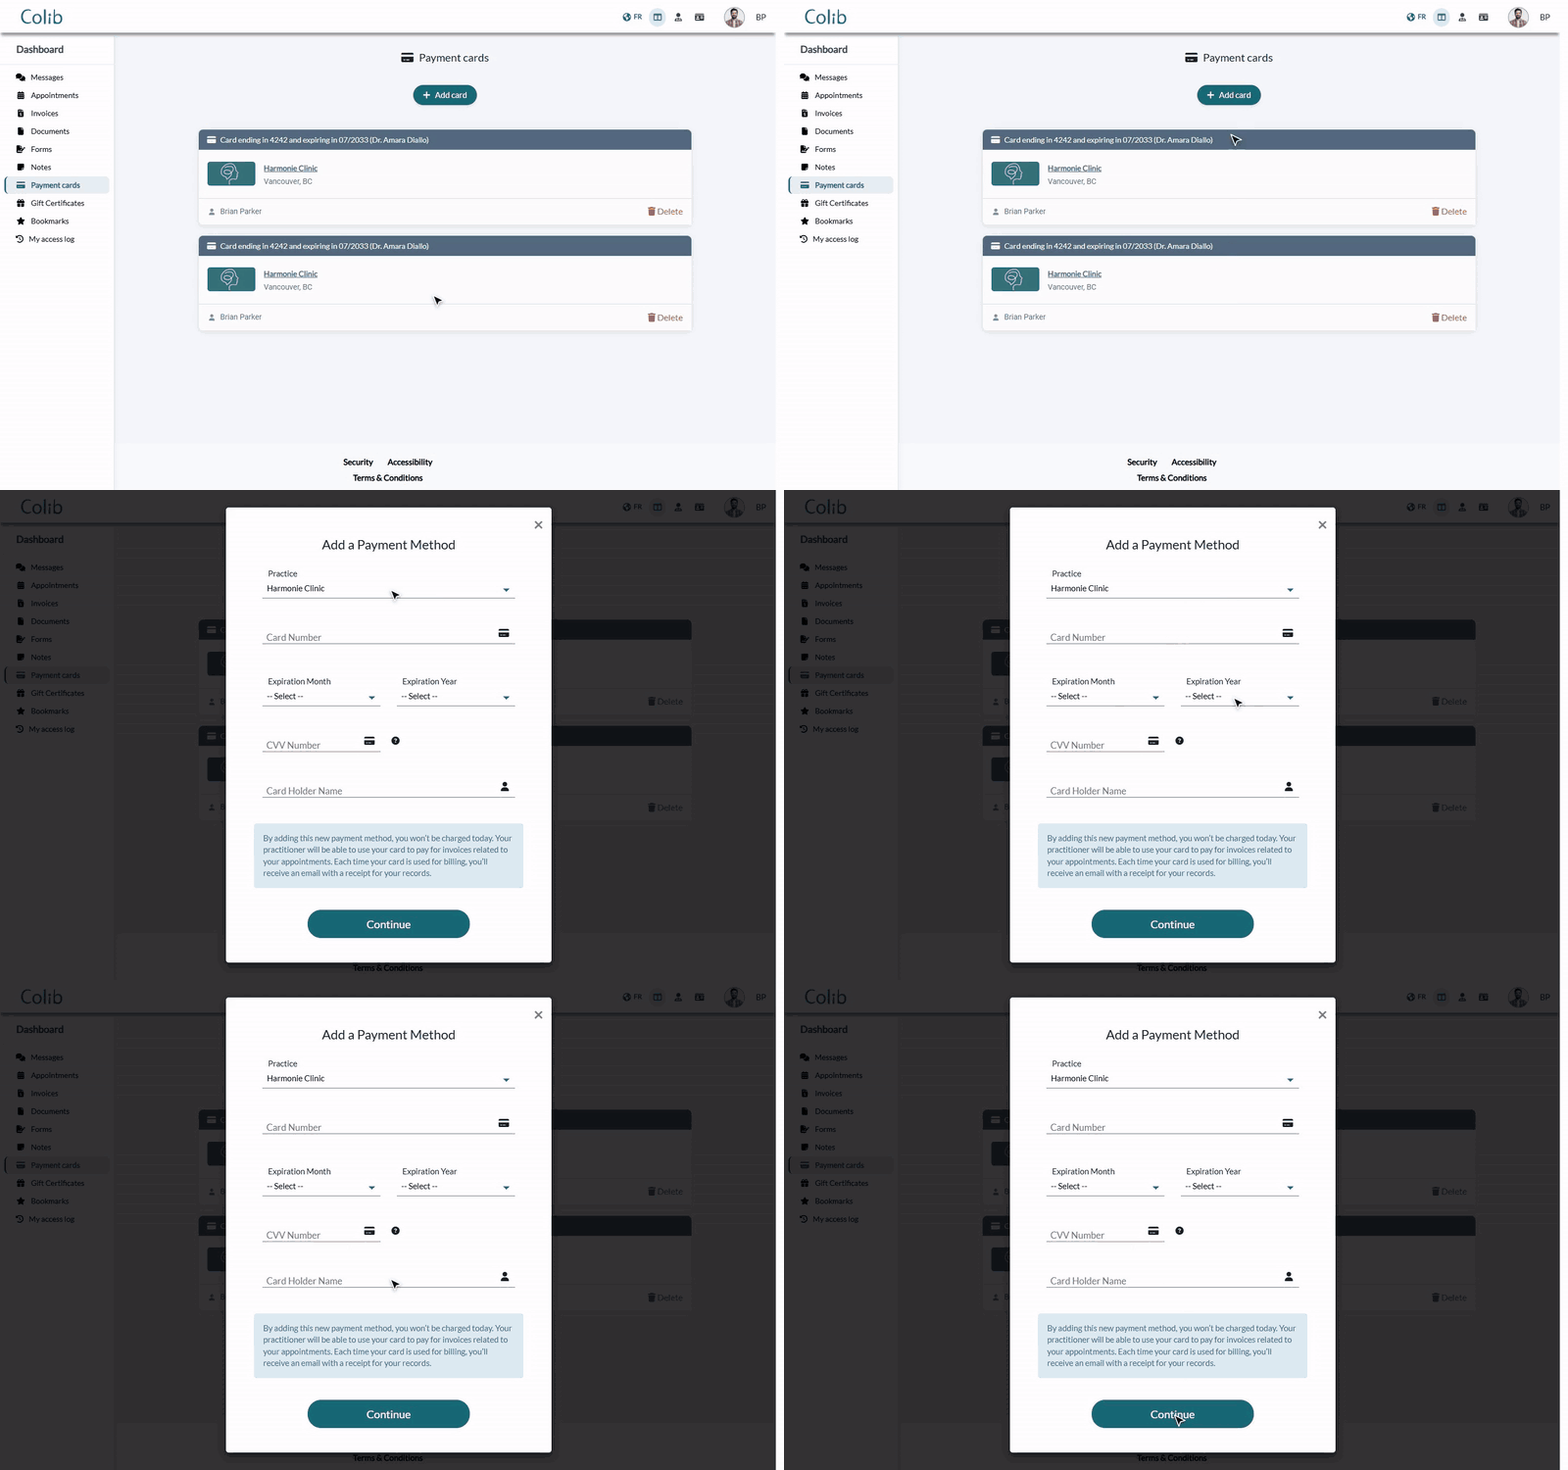
1Open your payment cards
- Sign in to the client portal (portal.colib.io).
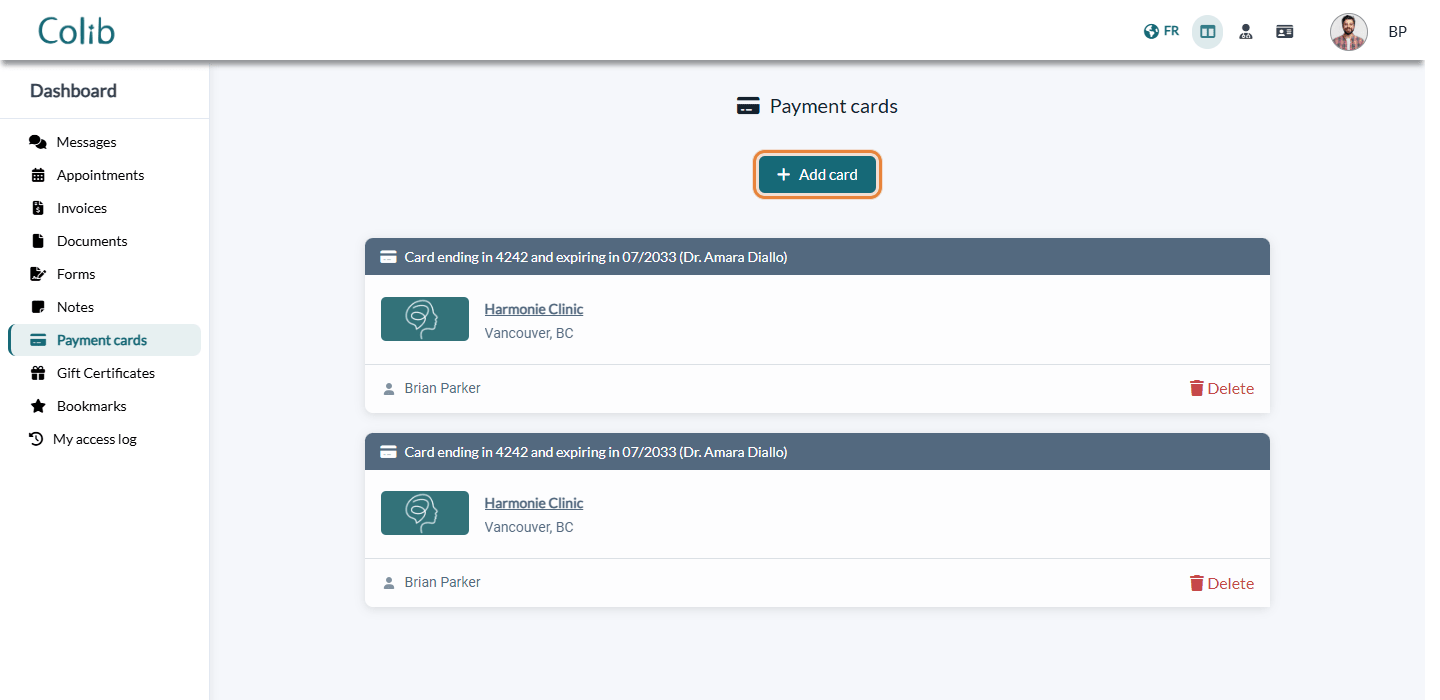
- In the menu on the left of the Dashboard, click Payment cards.
Each saved card shows the last 4 digits and the expiry date (for example, Card ending in 4242 and expiring in 07/2033), the practitioner it is linked to when there is one, the practice and the client record it is used for. Your full card number is never displayed.
If the tab shows You need to confirm your email address to view your payment card(s)., first confirm your email address with the link you received when your account was created.
2Add a card
- Click Add card. The Add a Payment Method window opens.
- If you are a client of several practices, choose the Practice that will be able to use this card.
- Enter the Card Number, the Expiration Month and Expiration Year, the CVV Number (the 3 or 4 digits on the back of the card; click the ? icon for help) and the Card Holder Name.
- Click Continue. The window closes and the card appears in the list.
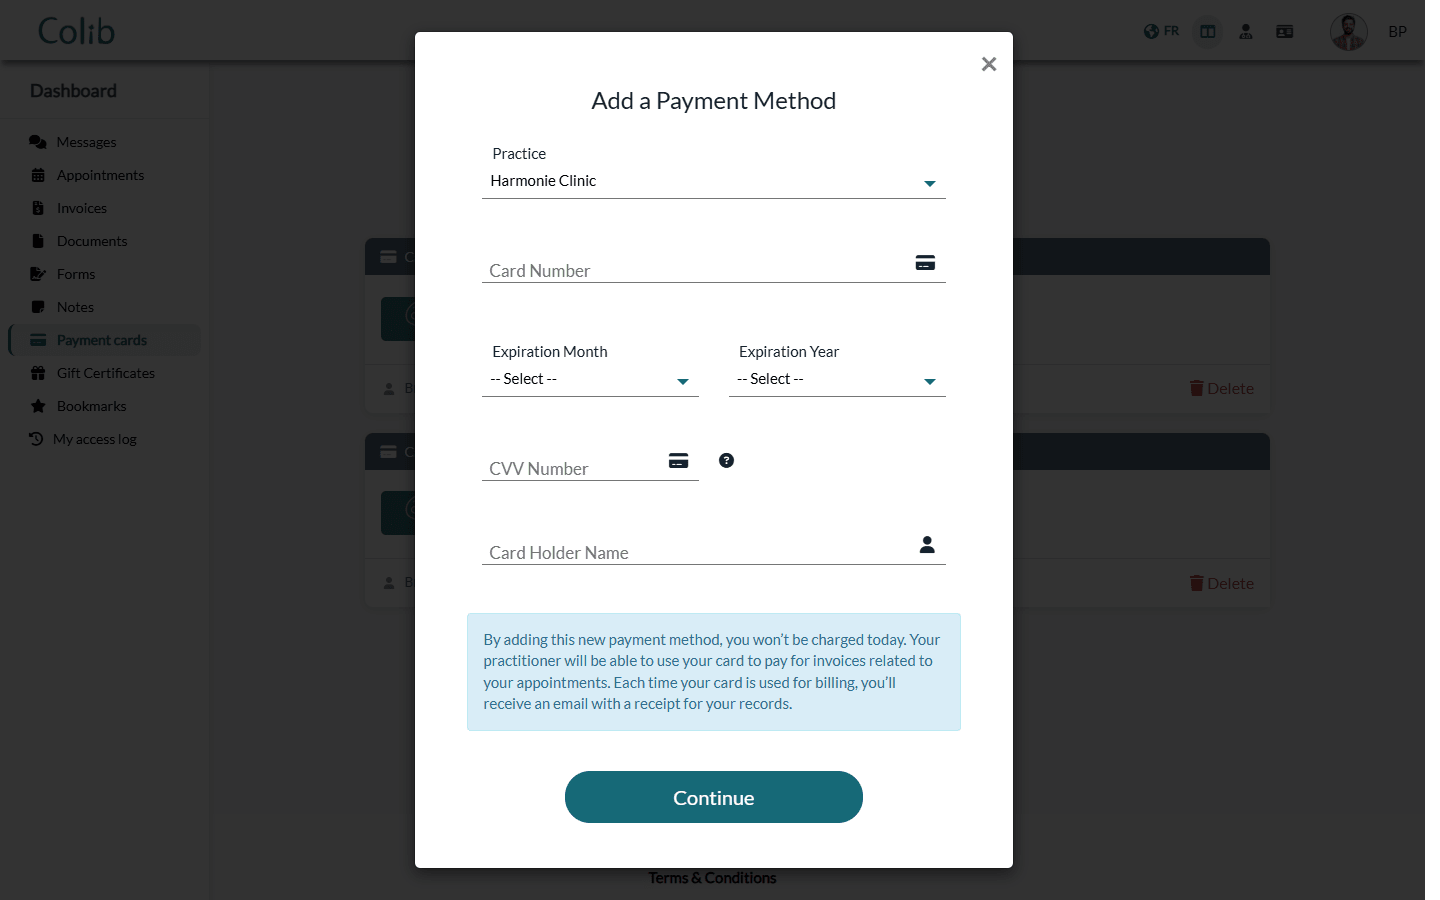
You are not charged when you add a card. Each time your card is used to pay an invoice, you receive an email with the receipt.
If the card is refused, a message in red under the card number tells you why (for example, Your card was declined. Please review the information you provided.). Check the information and try again, or use another card.
No Add card button? the button only appears when at least one of your practices accepts online card payments. If you see the message To add a payment card, you must be a client of at least one practitioner who accepts online payments., ask your practice how to pay.
3Delete a card
- On the card to remove, click Delete.
- Confirm with Delete in the confirmation window (Cancel keeps the card).
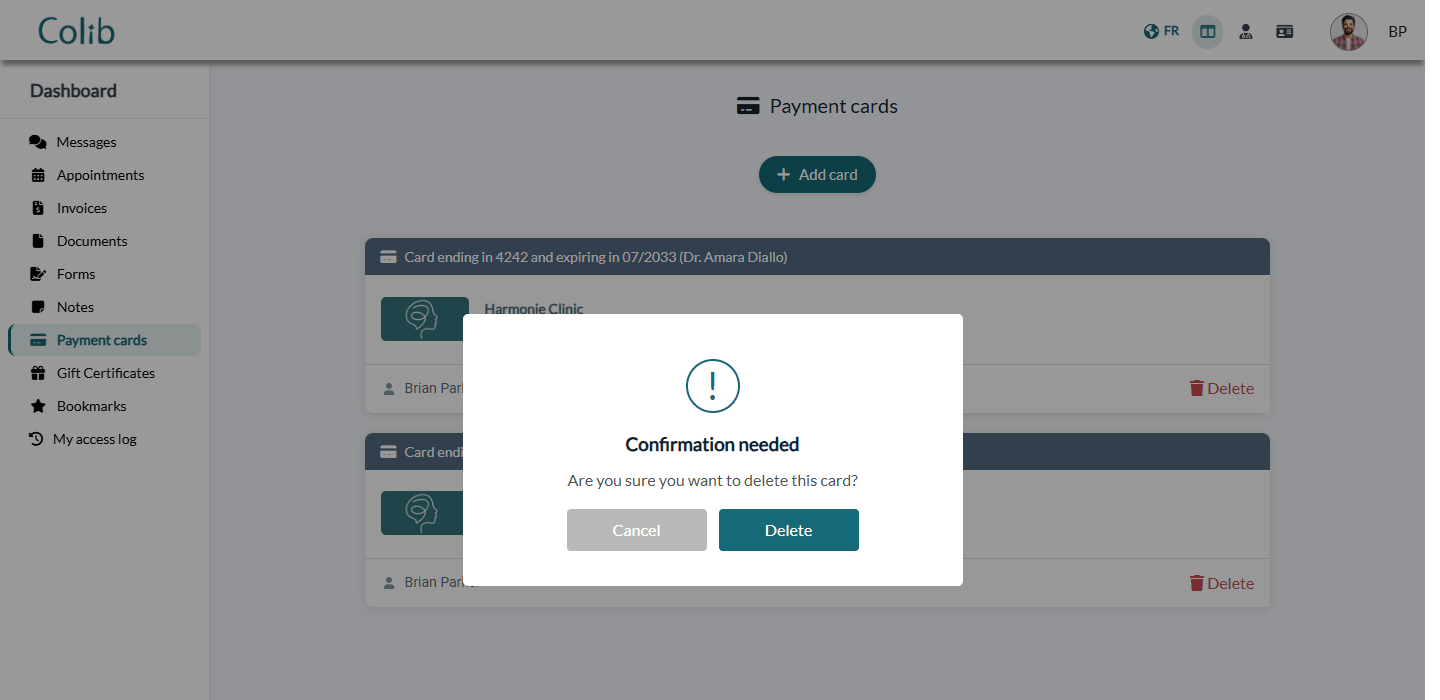
Once deleted, the card can no longer be used by your practice. To replace an expired card, add the new one, then delete the old one: a saved card cannot be edited.
4Your practice sent you an email to request your card
Your practice can ask you for your payment information by email (subject [Practice] - Payment information requested). Click Continue in the email: a secure page opens, with your practice's logo. You do not need to sign in to the portal.
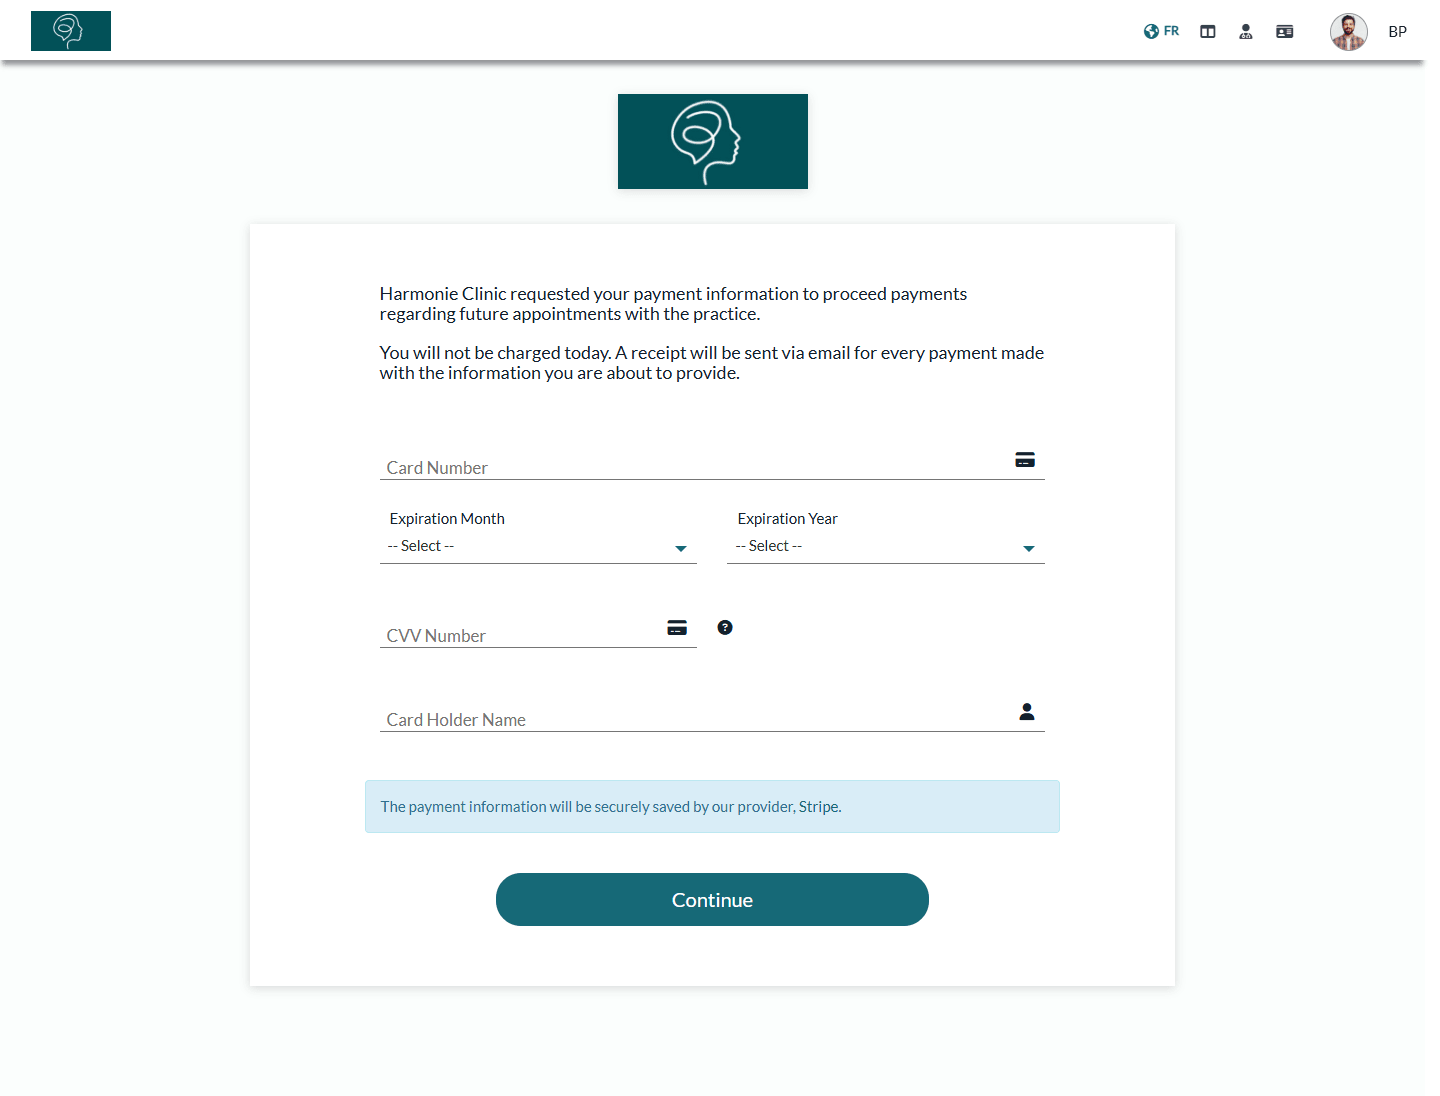
- Enter your card information, as described above.
- Click Continue. The message Thank you! The payment information has been successfully saved. confirms that the card is saved.
Your practice is notified that you have provided your payment information. The card then appears in Payment cards in your portal, where you can delete it at any time.
Good to know
- One card per practice — a card is saved for the practice you chose. If you are a client of several practices, add your card for each one that should be able to use it.
- Security — your payment information is saved securely by the practice's payment provider, Stripe. The portal and your practice only see the last 4 digits and the expiry date.
- Pay an invoice yourself — you can also pay an invoice online from the Invoices tab, without saving a card. See What is the client portal?.
Still have a question?
Write to us at support@colib.io, we will be happy to help.
Was this article helpful?
That’s Great!
Thank you for your feedback
Sorry! We couldn't be helpful
Thank you for your feedback
Feedback sent
We appreciate your effort and will try to fix the article