Who is this article for?
You are setting up Colib and want to see exactly what your clients will receive and see (confirmation emails, reminders, booking page, forms, invoices, client portal) before you start with real clients. Colib does not provide a set of demo data. Your account may start with a demo client named John Doe-Test, but this client uses the email address of your own Colib account, so you cannot use it to test the client portal invitation (see the box of step 1). The simplest way is to create a fictitious client whose contact details are yours, and to play the role of this client.
Before you start: choose an email address that you can read but that is not the one you use to sign in to Colib. For example, a second mailbox, or an alias such as yourname+test@yourdomain.com if your email provider supports this kind of address. See why in the box of step 1.
1Create the test client
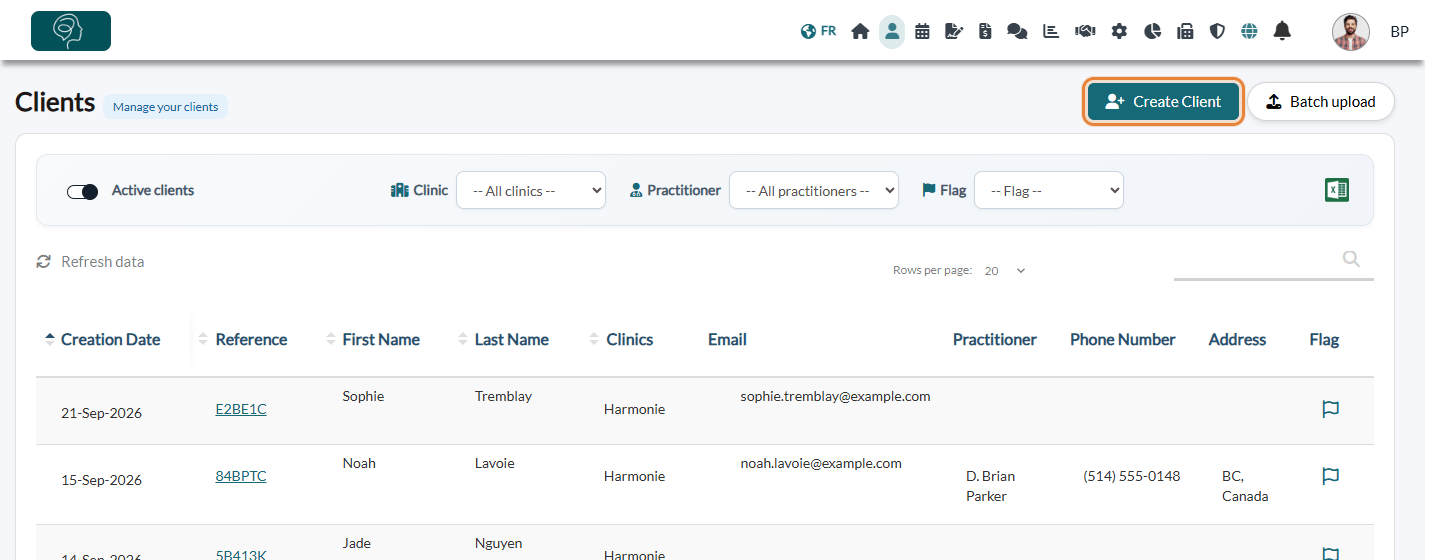
- Go to www.colib.io/clients and click Create Client.
- Enter a first name and a last name that you will recognize (for example, Test Client). Only these two fields are mandatory.
- Enter the test email address, and your own mobile number if you also want to receive the text messages.
- In Preferred communications, choose how the client receives the notifications (email, SMS or both), then save.
Important: do not give the test client the email address of your own Colib account. Colib would link this client to your own account: the client record would show a client portal account that is already active, and you could not test the invitation to the client portal (The client has already joined the client portal.). The client portal also refuses to create an account with an address that already has a Colib account.
If your practice sends the welcome email automatically to all new clients, the test client receives it a few moments after the record is saved. Otherwise, you can send it from the record (More actions > Send welcome email). See How to configure and send a welcome email to clients.
2Book an appointment and receive the notifications
- In the scheduler (www.colib.io/scheduler), create an appointment for the test client, a few days ahead.
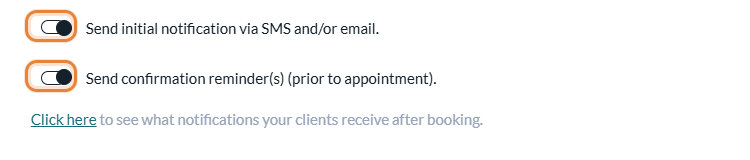
- Before saving, check that Send initial notification via SMS and/or email. and Send confirmation reminder(s) (prior to appointment). are turned on.
- Save: you receive the confirmation in the test mailbox (and by text message if you chose SMS), then the reminders as set up for your practice.
The list of the messages your clients receive is in What notifications do clients receive after booking? To change their wording, see How can I customize the emails sent to my clients before and after an appointment?
3Book online as if you were the client
- Go to Settings > Booking Page (www.colib.io/settings?show=bookingpage).
- In the Page URL section, click the here link: your booking page opens, as your clients see it.
- Book an appointment with the name and the email of the test client. Colib recognizes the existing client by their email and adds the appointment to their record.

This is also a good time to check the appointment types offered, the available times and the questions asked. See How to set up the booking process in Colib.
4Test the rest of the client experience
- Forms — send a form to the test client, then fill it out and sign it from the email: How can I send the form to my clients?
- Client portal — in the client record, open More actions > Invite to join the client portal, then create the portal account from the email received: What is the client portal?
- Invoices — create an invoice for the test appointment and send it by email to see what your clients receive.
- Private messages — send a message to the test client: How to send a private message to a client.
- Online meeting — with an online appointment type, open the meeting link from the test email to see the client's side.
5Clean up when you are done
- Delete the test appointments first: open each one in the scheduler and use Delete appointment/event.
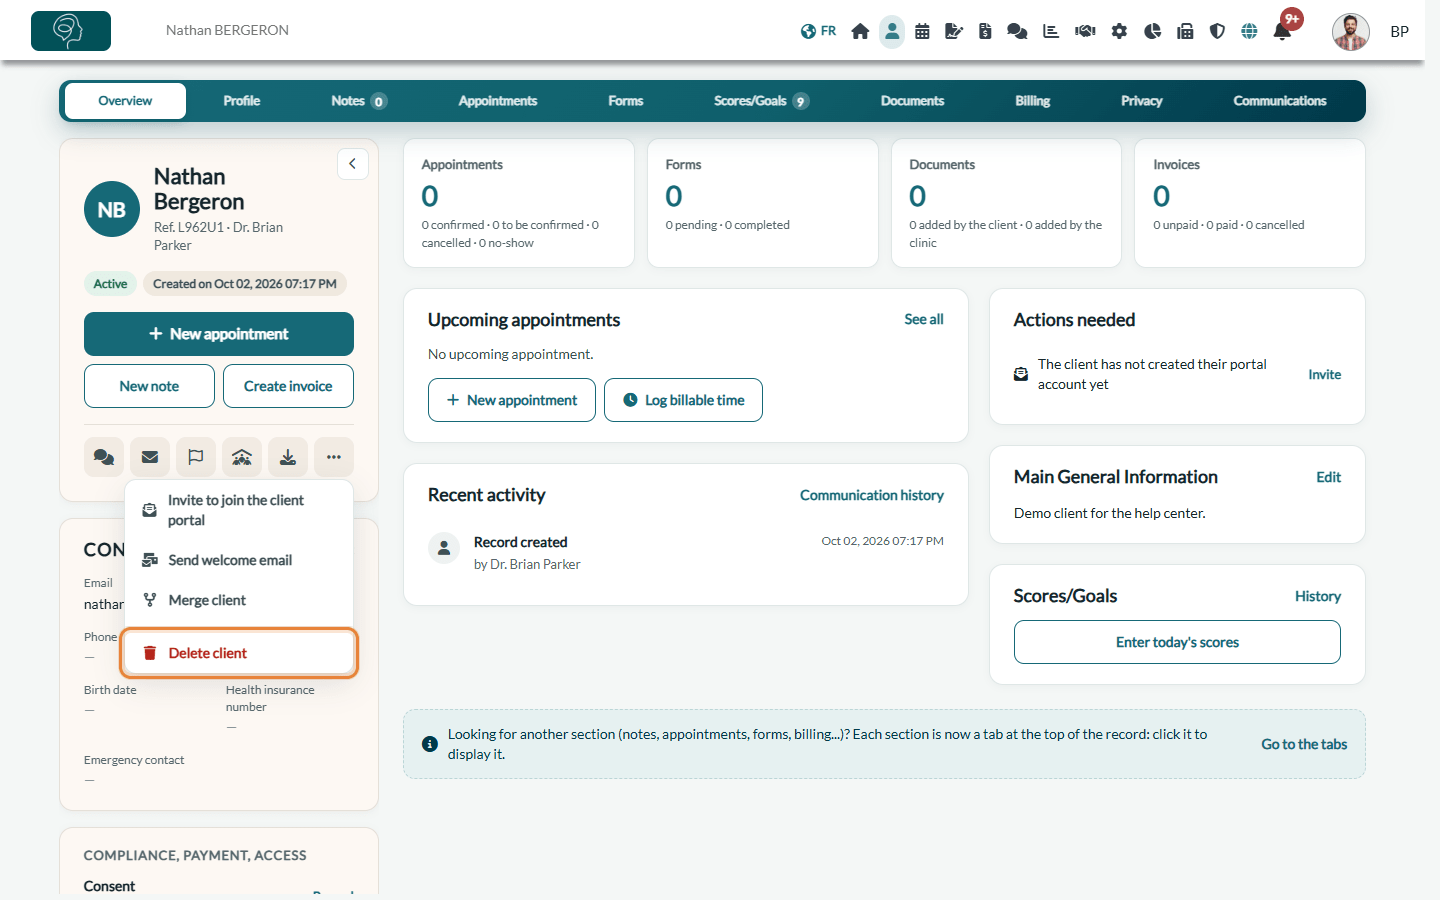
- Then delete the test client: in their record, More actions > Delete client, and confirm.
Important: deleting a client does not delete their appointments: the client is only removed from their upcoming appointments, and the appointments stay in your schedule. Also avoid recording a payment on a test invoice: a client who has payments cannot be deleted.
Good to know
- Appointments and your bill — appointments dated during your free trial are never billed. After the trial, on a plan billed per appointment, a test appointment counts like any other unless it is deleted or cancelled: hence the cleanup above.
- Getting started — for the other setup steps, see How to get started successfully on Colib.
Still have a question?
Write to us at support@colib.io, we will be happy to help.
Was this article helpful?
That’s Great!
Thank you for your feedback
Sorry! We couldn't be helpful
Thank you for your feedback
Feedback sent
We appreciate your effort and will try to fix the article